This task shows you how to create a circular stamp by specifying the punch geometrical parameters.
Open the
NEWStamping.CATPart document from the samples directory.
If you use the Aerospace SheetMetal Design workbench, open the
Aero_Stamping.CATPart document.
-
Click Circular Stamp
") .
. -
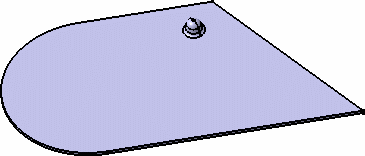
Click the surface where you want to place the circular stamp.
A grid is displayed to help you position the circular stamp. 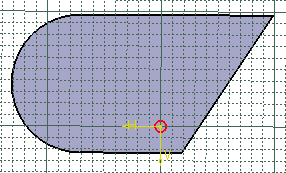
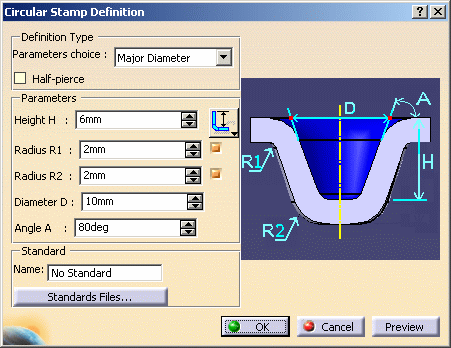
The Circular Stamp Definition dialog box opens, providing default values. -
Choose the diameter that should be dimensioned from the Parameters choice list:
-
Major Diameter
-
Minor Diameter
-
Two Diameters (major and minor diameters)
-
Punch & Die
-
-
Change the value in the different fields, if needed:
-
Height H: use the icon next to the field to specify the reference from which the height is defined:
 or
or  .
. -
Radius R1
-
Radius R2
-
Angle A
-
Diameter D
-
-
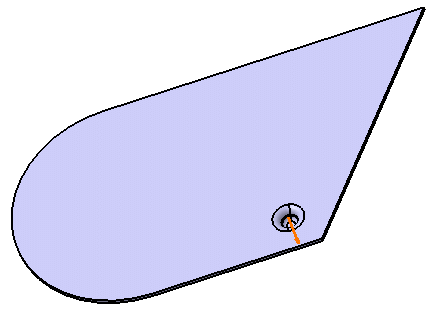
Click Preview to visualize the circular stamp.
-
Click OK to validate.
The circular stamp (identified as Circular Stamp.xxx) is created and the specification tree is updated accordingly. 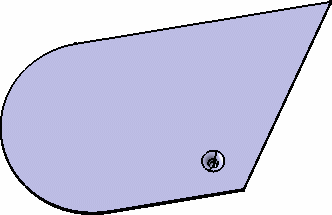

To create the point stamp without a fillet, unselect the Radius R1 and Radius R2 checkbox in the Circular Stamp Definition dialog box. 

Please refer to the Customizing Standard Files chapter to define the Standards Files.
![]()