This task shows you how to create a bridge by specifying the punch geometrical parameters.
![]()
-
Click Bridge
 .
. -
Select a point on the top face where you want to place the bridge.
The Bridge Definition dialog box opens, providing default values. -
Change the value in the different fields, if needed:
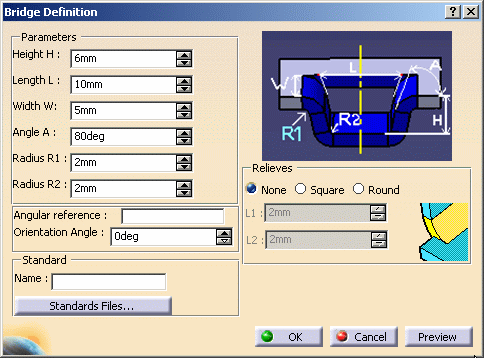
-
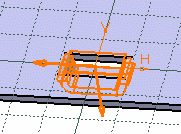
Select an edge to give the direction of the bridge.

-
If you want to create a relief under the bridge, select one of the Relieves options and type values in the L1 and L2 fields.

There are two types of relieves available : 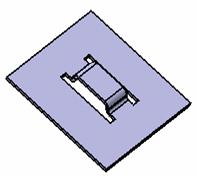
Square relief
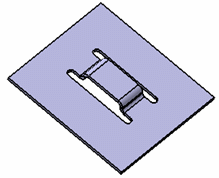
Round relief
-
Click Preview to visualize the bridge.
-
Click OK to validate.
The bridge (identified as Bridge.xxx) is created and the specification tree is updated accordingly. 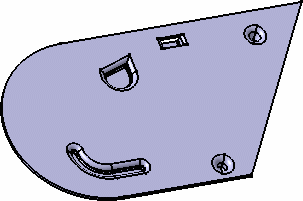
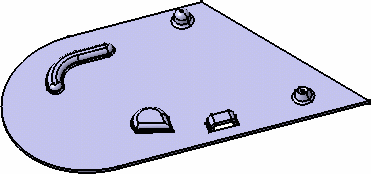

You can use 0 as the Radius value to deactivate the Radius R value, and to create the bridge without a fillet. 

Please refer to the Customizing Standard Files chapter to define the Standards Files.
![]()