Modifying Stickers

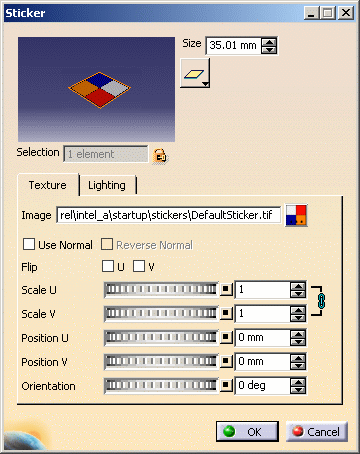
This task explains how to modify the sticker properties such as the lighting or the projected image, for instance.

Open the SaltnPepper.CATProduct and apply a sticker as explained in Applying Stickers.
  1. Right-click the sticker in the specification tree then select Properties (or press Alt+Enter).

    You can also double-click Apply Sticker or select Sticker object > Definition to open the Sticker dialog box which lets you modify the sticker properties as well. 

    The Properties dialog box does not allow you to perform geometry modifications on a sticker that is already applied. To perform geometry changes, access the Sticker dialog box by selecting Sticker object > Definition.
    The Feature Properties tab provides general information on the currently selected sticker, e.g. its name, its creation date, etc.
    The Rendering tab lets you modify Texture and Lighting parameters:
    The Texture and Lighting parameters displayed in this dialog box are identical to those contained in the Sticker dialog box, except that you cannot manipulate the viewpoint interactively.
  2. If you want to define a texture image for the sticker, click the ... button to open the File Selection dialog box.

    The supported image formats are:

    • .bmp

    • .rgb

    • .jpg

    • .tif (this format supports transparency so that you can see the underlying stickers and geometry in the transparent areas of your image).

  3. Navigate to the image you wish to apply then click Open.

    The name, the path and the graphical representation of the chosen image are displayed in the Image box:

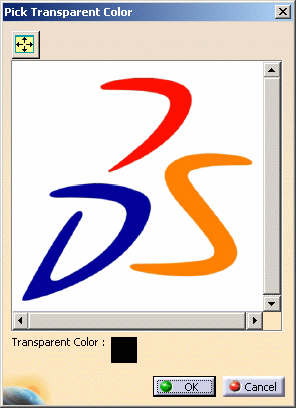
    Whatever image format you choose, you can access the Lighting tab to select the Use Transparent Color check box then click the icon to open the transparency viewer (the default transparent color is Black):
    The Transparent Color results from a comparison between pure color components. There is no tolerancy, which implies that some aliasing artifacts may appear.

    This dialog box lets you select the color onto which the transparency will be applied after clicking OK.

    You can now zoom the sticker image to be used in the Pick Transparent Color dialog box. This is especially useful for choosing the pixel to be used as a color reference for transparency.
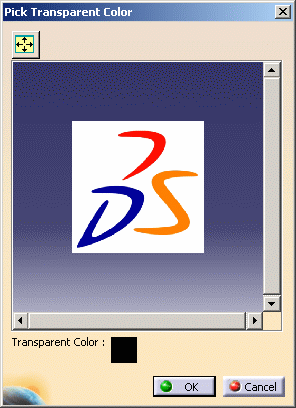
    To do so, press and hold down the middle mouse button, then click the left (or right) mouse button and drag (still holding the middle mouse button down) upwards to zoom in or downwards to zoom out.
    For instance, the image below has been zoomed out:
    To reframe automatically the image, you can click the Fit All In button anytime.

    When satisfied, click OK to validate and close the dialog box.

  4. Click OK to validate your new parameters.

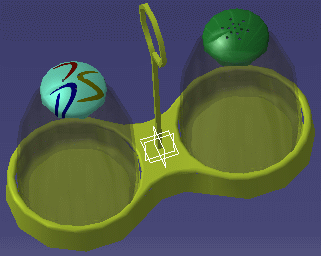
    The new sticker properties are applied onto the object:

    If you are using the Photo Studio product, you can also generate a rendered image of the sticker by clicking Quick Render .
 

More about stickers

Stickers are identified by three different symbols in the specification tree:

  • for a sticker that is applied onto geometry and for which a texture image has been defined
  • for a sticker that is not applied onto geometry (typically, when you select the Sticker command without having previously selected the element onto which the sticker should be applied)
  • for a sticker that is applied onto geometry but for which no texture image has been defined.
  • The transparency parameter used for stickers is the standard transparency parameter used throughout CATIA V5 products. Therefore, the stickers present the same limitations in terms of  transparency as any other CATIA products. For more detailed information about transparency limitations, refer to the Customizing Section - Performance task in the CATIA Infrastructure User's Guide.