")
|
-
From the Insert menu, select Knowledge
Templates > Document Template ... (in the Part Design workbench)
or, if in the Product Knowledge Template workbench, click the Create
a Document Template icon ( ).
The Document Template Definition window is displayed. ).
The Document Template Definition window is displayed.
-
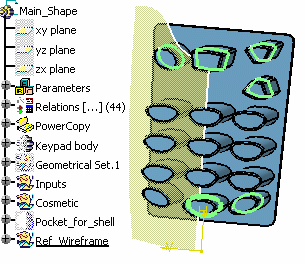
In the Document Template Definition window,
click the Inputs tab to select the inputs.
|
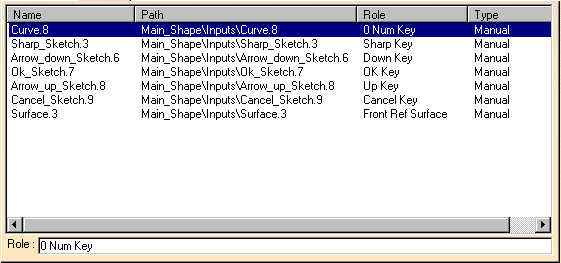
- Curve.8
- Sharp_Sketch.3
- Arrow_down_Sketch.6
- Ok_Sketch.7 |
- Arrow_up_Sketch.8
- Cancel_Sketch.9
- Surface.3 |
|
|
|
-
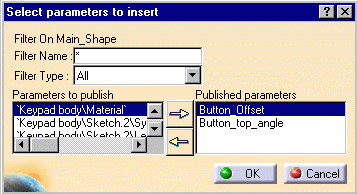
Click the Published Parameters tab to publish
parameters.
|
|
 |
|
|
-
Right-click DocumentTemplate.1 and select
Properties to rename the document template.
-
In the Feature Name field, enter Keypad1. Click
OK to validate.
|
Create the Second Template
-
From the Insert menu, select Knowledge
Templates > Document Template ... (in the Part Design workbench)
or, if in the Product Knowledge Template workbench, click the Create
a Document Template icon ().
The Document Template Definition window is displayed.
-
In the Document Template Definition window,
click the Inputs tab and select the following inputs in the
specification tree:
-
Curve.8
-
Sharp_Sketch.3
-
Arrow_down_Sketch.6
-
Ok_Sketch.7
|
-
Arrow_up_Sketch.8
-
Cancel_Sketch.9
-
Surface.3
|
-
Select the
Accept
instantiation even if not all inputs are filled check box.
-
Click the Published Parameters tab to publish
parameters.
|
|
|
|
|
-
Right-click DocumentTemplate.2 and select
Properties to rename the document template.
-
In the Feature Name field, enter Keypad2. Click
OK to validate.
-
Save your file.
|
-
Store
the document template in a catalog.
-
Close your file and proceed to the next task:
lnstantiating a Part Template.
|