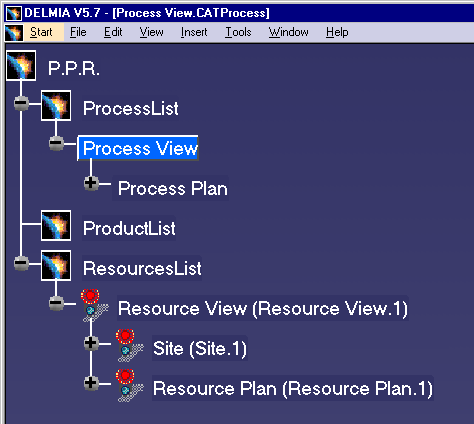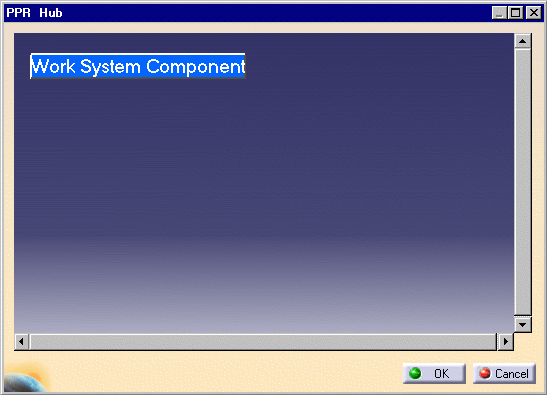
Click Associate Work System Component
Representation
![]() located in the Manufacturing Hub toolbar, or select the Insert >
Manufacturing Hub Object > Associate Work System Component
Representation menu command.
located in the Manufacturing Hub toolbar, or select the Insert >
Manufacturing Hub Object > Associate Work System Component
Representation menu command.

Notes
-
Right-click an object in the browser window to display a context menu containing a Properties command which allows read-only access to the object's Extended Properties Panel.
-
Selections which are not valid are indicated when the mouse cursor is passed over the selection (the mouse cursor changes to
 ).
). -
To add a Work System Component under a resource in V5, the parent resource must be WRITE locked by the user in the current document.
-
Additionally, the user also must have "Add Child" rights on the parent resource.
Child components which display a "+" to its left indicate a folder that contains additional child components. Click the "+" next to the folder (or double-click its name) to display its child components. Continue this process until the desired Workspace Component is accessible:
