 |
-
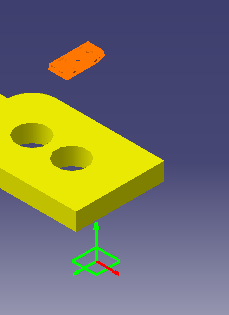
Select the item you want snapped (that is, moved in
relation to another object).
| Note that in this example, the part has been designed so that
the snapping point is not on the part itself (you can see where
the snapping point is by observing where the compass is).
The part will retain its position relative to the compass when it
is snapped. |
 |
-
Click
Snap to Surface . .
-
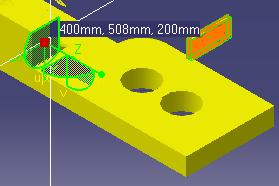
Move the cursor so that the white plane indicator is
on the correct plane and oriented correctly (to point the orientation
in the opposite direction, use the Shift key).
-
Click on the geometry.
| The item's snap point (which, in the case of this example, is
separated from the item itself) is snapped to the surface. |
 |
-
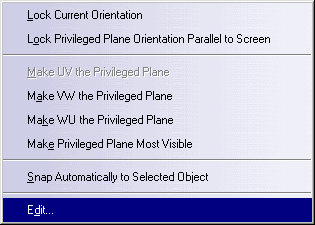
(Optional) To orient the part
differently, right-click on the compass, and then select Edit.
 |
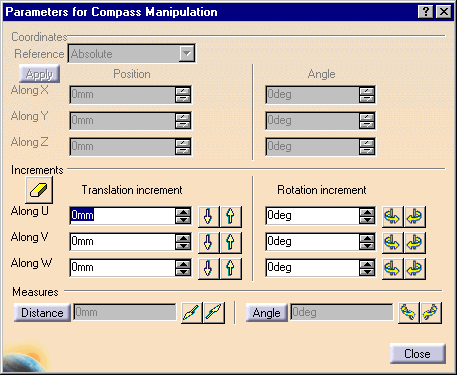
| The Parameters for Compass Manipulation dialog box
appears. |
 |
-
Rotate the compass or change the data in the box.
|
![]()