-
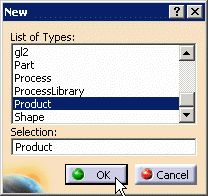
Select File > New and the New
dialog
box appears. Select Product, and OK.
-
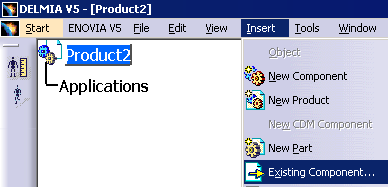
After the selection in the New dialog box, the software
changes to the Human Builder workbench. In the Menu
bar, select the
Insert > Existing Component...
-
Select the Product Name in the PPR tree (in
this example, Product2).
-
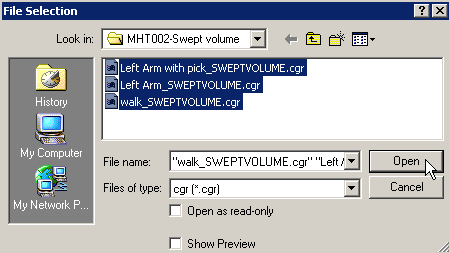
The File Selection dialog box appears.
Select all three files, or one you have created, and Open.
-
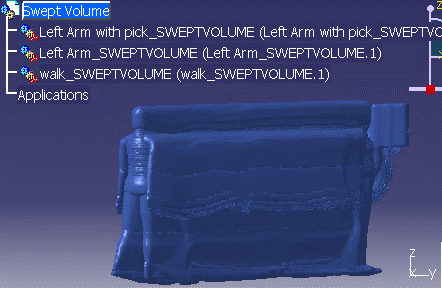
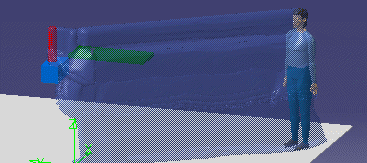
The Swept Volume appears in the 3D geometry window.
-
You could Right-click on the Product2, and change the
name to Swept Volume if required in the properties dialog box.

-
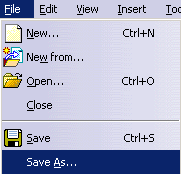
Save this file as Swept Volume where
required, and return to the Human Task Simulation workbench (close the
existing window).
-
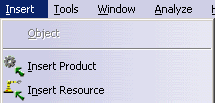
Insert this file into the existing CATProcess document
using the
Insert > Insert Resource.
-
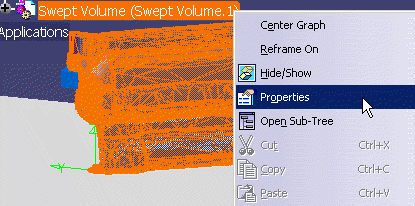
For the ease of viewing change the Swept Volume
transparency. Right-click on the Swept Volume in the PPR tree, and
select Properties.
-
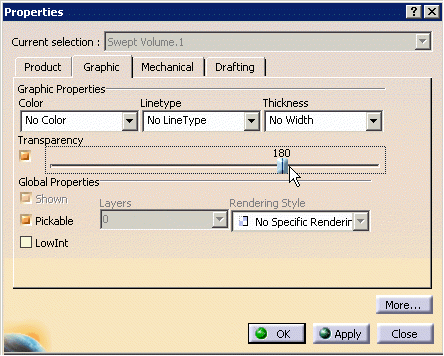
The Properties dialog box appears, and
select the Graphic tab. In the transparency area,
select and move the bar to the desired Transparency. Select
Apply, and OK.
-
The Swept Volume.
![]()