- Edit the current control point coordinates.
- Freeze control points to lock their selection and manipulate them from a distance.
- Create construction points representing specific locations of control point.
-
Click the Control Points icon:

The Control Points dialog box appears. 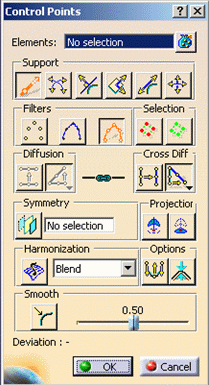
-
Select Surface.1
Control points and the mesh are displayed on the surface. -
Click the Normal to compass icon if not already selected:

-
Click the Points only icon if not already selected:

-
Pre-select the point as shown, the cross cursor is displayed, and select Edit position from the contextual menu.
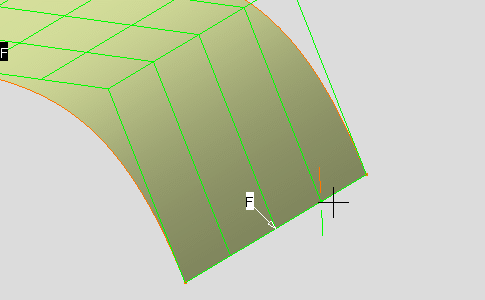
The Edit position dialog box appears. 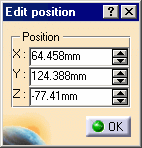

The Edit position command is applicable to a control point or a selection point of a mesh line. -
Set the Z coordinate to -50mm.
The pre-selected control point is moved accordingly. 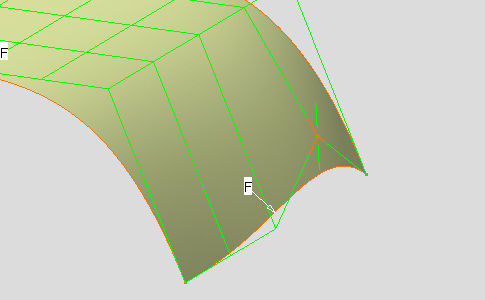
-
Click OK in the Edit position dialog box.
-
Pre-select the point as shown, the cross cursor is displayed.
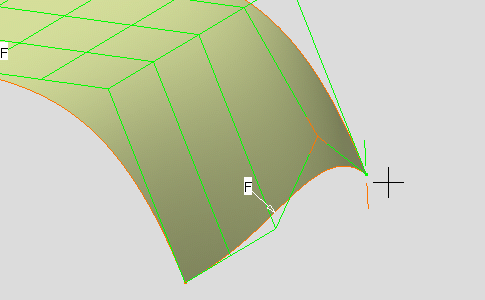
-
Move away the cursor from the point as shown.
The arrow cursor is displayed and the control point manipulator is unselected. 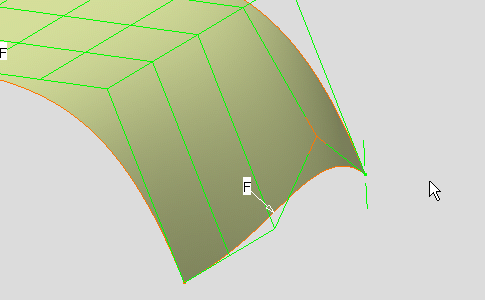
-
Pre-select the previous point again and select Freeze option from the contextual menu.

-
Move away again the cursor from the point.

- The Freeze option allows you to keep selected mesh lines or control points.
- You have to unselect this option before to make another selection.
- Contextual menu is now available anywhere in the geometry window.
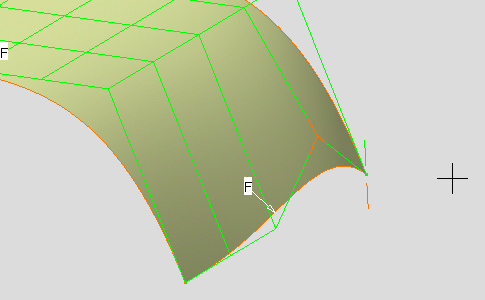
-
Unselect Freeze option from the contextual menu.
-
Pre-select the point as shown and select Keep this point from the contextual menu.
The point is created at the current control point position. 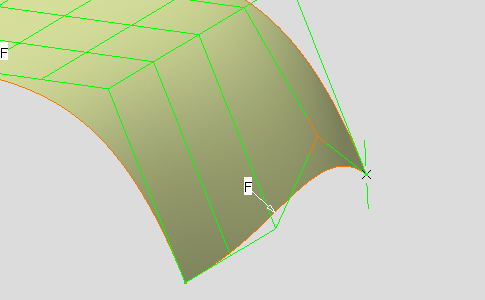
And in the specification tree. 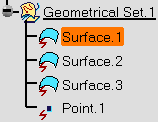
-
Move the previous selected control point.
The created point has kept the position. 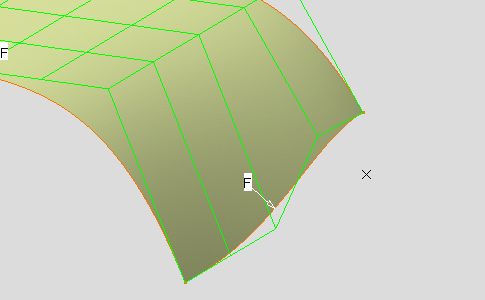

The Keep all Points command allows you to keep the current position of all the control points.