- Improve the highlight of the related geometry, see Highlighting of the Related Geometry for 3D Annotation.
-
Select the Insert > Annotations > Default Annotation Management > Default Annotation menu.
-
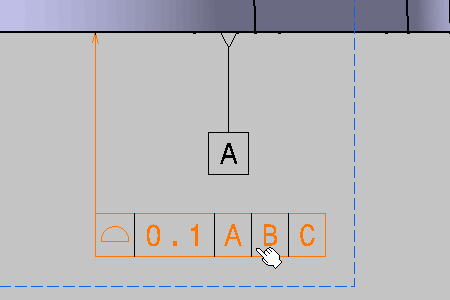
Select the Geometric Tolerance.1 annotation as shown:

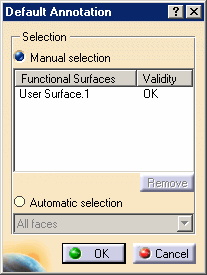
The Default Annotation dialog box appears.

-
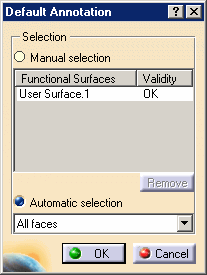
Select Automatic Selection in the Default Annotation dialog box, All faces option in the combo box and click OK.

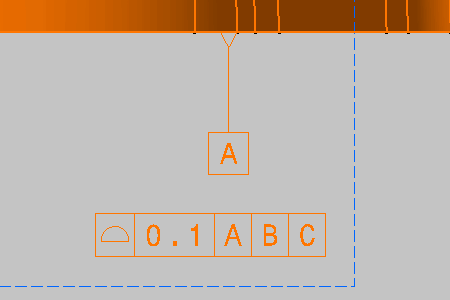
The annotation is now applied to all the faces of the part.


According to the selected annotation you will find the following option in the combo box.
| Annotation and Tolerance types | Options | |
| Roughness Non-semantic Geometrical Dimension and Tolerance Text Flagnote Note Object Attribute (NOA) |
All faces Planar faces Cylindrical faces Spherical faces Non-canonical faces Fillet faces |
|
| Profile of a surface with Datum Reference Frame | All faces Planar faces Cylindrical faces Spherical faces Non-canonical faces Fillet faces |
|
| Profile of a surface without Datum Reference Frame | All faces Planar faces Cylindrical faces Spherical faces Non-canonical faces Fillet faces |
|
| Flatness | Planar faces | |
| Generator straightness | Cylindrical faces | |
| Cylindricity | Cylindrical faces | |
| Circularity | Cylindrical faces | |
| Radius size | Cylindrical faces Spherical faces Fillet faces |
|
| Diameter size | Cylindrical faces Spherical faces |