-
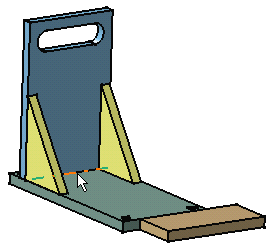
Select the edge between Green Part and Blue Part.
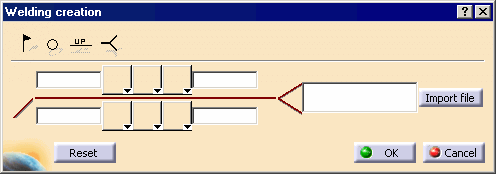
The Welding creation dialog box appears.
-
Enter your specifications in the Welding Creation dialog box. In the first entry field to the left, enter 70 as the weld length.
-
For example, set the angle symbol.
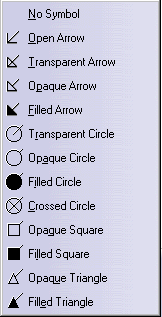
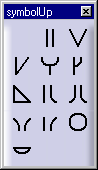
The symbols available are:
-
Choose among the three weld types available to set your weld type:
-
Enter 2.5 as the weld length.
-
Enter Weld 2 in the Reference entry field. This field is reserved for your own specifications or codes.
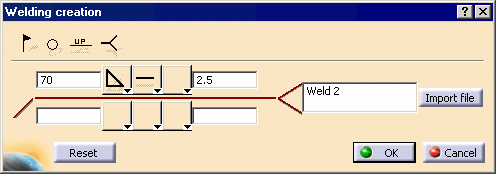
You can also import a file by clicking the Import file button. The contents of this file is then displayed in the geometry.
Note also that you can click:
![]()
-
the field-weld symbol (flag symbol): reserved for welds not made at the location of the initial part construction.
-
the weld-all-around symbol (circle): reserved for welds made all around the contour of the part.
-
the "up" option: a display option. You can display the symbols and values above or below the welding symbol. It is a quick way of transferring the data from the first row to the row below and vice versa.
-
the indent line side.
-
the weld tail symbol.
-
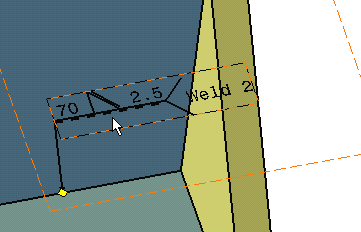
Click OK to confirm.
The annotation is created in the geometry.
The Parallel to Screen option in 3D Display under Display properties is not available for Weld annotation.
-
Drag and drop the annotation to move it.
You can obtain this result:
Contextual Commands
- Associated Geometry: manages annotation connections.
- Select Views/Annotation Plane: selects the annotations of an annotation plane and the annotation plane of an annotation.
- Transfer to View/Annotation Plane: transfers specifications from one view to another.
- Add Leader adds a leader to the selected specification (Right-click the specification to which you want to add a leader, select the Add Leader contextual command and click where you want to begin the leader).
- Annotation Links: creates or deletes positional or orientation links.
- Add a Breakpoint: adds a breakpoint on the leader line.
- Add an Interruption: adds an interruption on the leader line
- Remove a Breakpoint: removes a breakpoint on the leader line
- Remove Leader/Extremity: removes a leader line or an extremity
- All Around: adds the All Around symbol
- Switch to perpendicular leader: sets the leader perpendicular to the annotation
For more information about those commands, please refer to the 3D Functional Tolerancing and Annotations User's Guide.