![]()
-
Switch to Electrical Harness Assembly workbench
 .
. -
Double-click to activate the geometrical bundle.
-
Create the bundle segment harness.
To do so: -
Click Bundle Segment
 .
. -
Define the bundle segment parameters.
-
Define a construction point to link the harness between the batteries.
-
Define the bundle segment routes.
These steps are detailed in the Basic Tasks section of the Electrical Harness Installation User's guide - Creating the Bundle Segment Document.
The result looks like this: 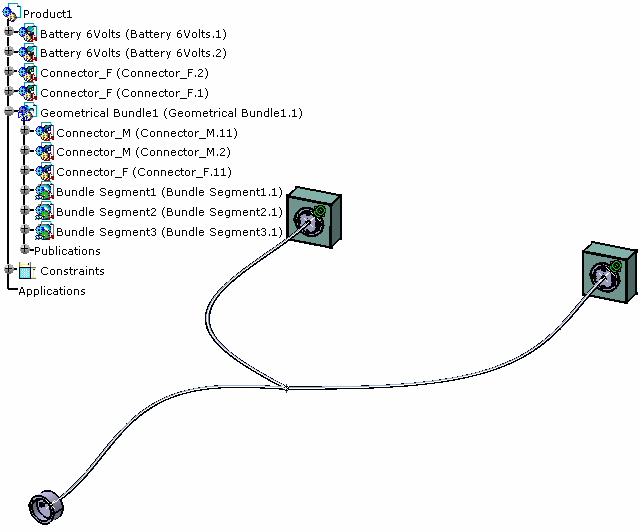
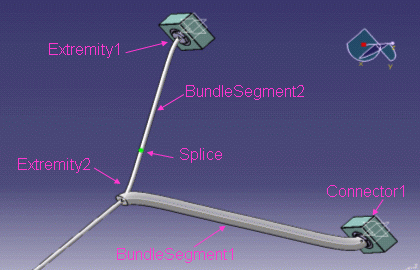
You will now place the internal splices inside the bundle segments. -
-
Switch to Electrical Assembly Design workbench
 .
. -
Click Manage Links
 .
.
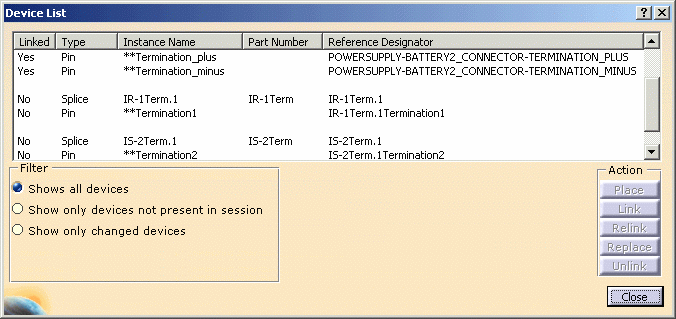
The device list displays. -
Select an internal splice:
-
Click Place.
Since a mapping has been defined, the catalog browser opens with the predefined internal splice: 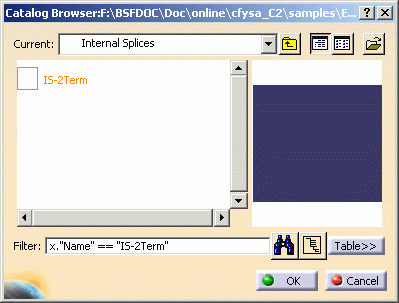
-
Select this internal splice: IS-2Term and click OK.
You are prompted to select the bundle segment on which you want to place the internal splice. -
Click to select the bundle segment.
-
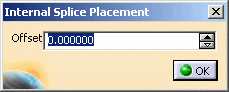
Move then click to place the internal splice.
You can also modify the offset in the dialog box. 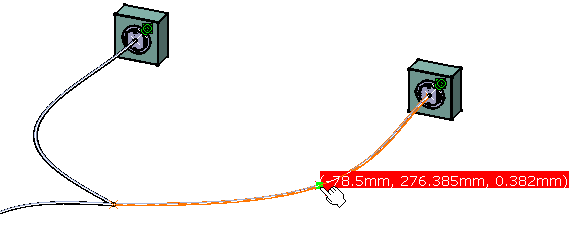
-
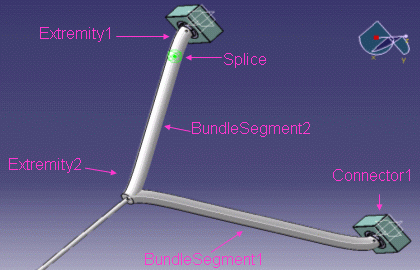
Click OK.
Repeat these steps for the other splice.
The internal splice is placed and automatically linked.
They are added to the specification tree under the active product. They do not have a geometrical representation.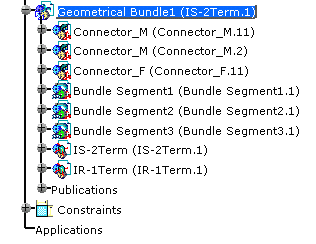
The component list is updated: the splices and pins are shown as linked in the device list. 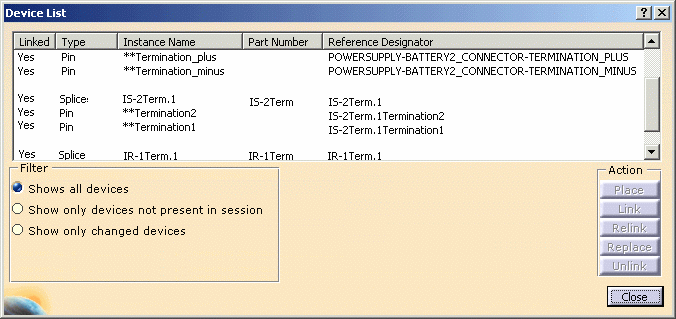
-
Click Close when you are done.