To do so, go to Tools > Options, Mechanical Design > Sketcher option at the left of the dialog box (Sketcher tab).
-
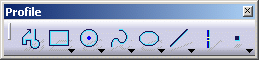
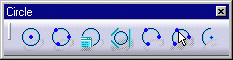
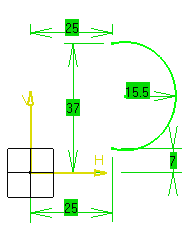
Click Three Point Arc Starting with Limits
 from the Profiles toolbar (Circle sub-toolbar).
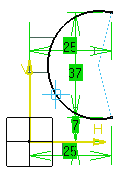
The Sketch tools toolbar will display one after the other values for defining the three points of the circle: values for defining the horizontal (H) and vertical (V), values for defining the arc start, end or second points or else the radius of this arc.
-
Position the cursor in the desired fields and key in the desired values.
![]()
End Point (H: 25mm and V: 7mm)
![]()
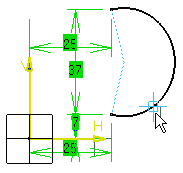
Second Point (R: 15.5mm)
![]()
-
Drag the cursor and click to create the arc intermediate point (the point which the arc will go through).
![]()