Roughness Symbols
|
|
Parameter |
Description |
Parent standard |
Value |
Description |
|
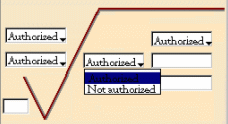
Roughness > Layout |
Layout of the roughness symbol |
All standards |
Authorized / Not authorized |
Specifies whether a given field should be displayed
(Authorized) or hidden (Not authorized) in the Roughness Symbol dialog
box

|
|
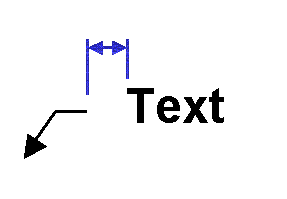
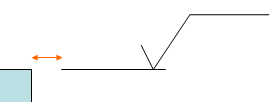
Roughness > Leader Gap |
Horizontal offset between the roughness and the leader
extremity |
ANSI and ASME only |
(mm) |
 |
|
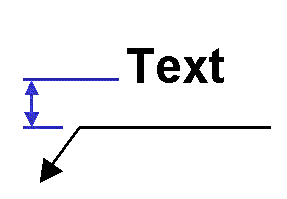
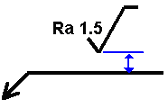
Roughness > Leader Vertical Space |
Vertical offset between the bottom of the roughness and
the horizontal part of the leader |
All standards |
(mm) |
 |
|
Roughness > Extension Line > Thickness > Behavior |
Behavior of the extension line thickness |
All standards |
Fixed / Variable with symbol |
Specifies whether the thickness of the extension line
should be fixed (using the value specified by the Line Thickness
parameter below) or variable (using the graphic property of the
thickness symbol itself). |
|
Roughness > Extension Line > Thickness > Line Thickness |
Extension line thickness index |
All standards |
Integer |
Specifies the line thickness index
(as defined in the LineThickness node of the current standard) that
should be used to represent the extension line. This parameter is taken
into account only if the Behavior parameter is set to Fixed. |
|
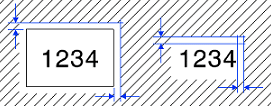
Roughness > Extension Line > Gap to surface |
Extension line gap to surface |
All standards |
(mm) |
Specifies the gap between the
extension line and the pointed object.
 |
|
Roughness > Extension Line > Length according to
symbol |
Extension line length defined according to symbol or
not |
All standards |
Yes / No |
Specifies whether the extension line
length should be defined according to the roughness symbol length.
With value set to Yes:

With value set to No:

|
|
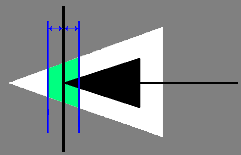
Roughness > Extension Line > Overrun |
Extension line overrun |
All standards |
(mm) |
Specifies the overrun of the
extension line.
When Length according to symbol parameter is set to
Yes:

When Length according to symbol parameter is set to No:

|
|
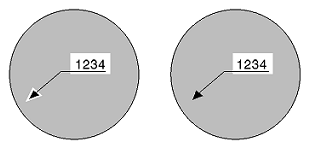
Roughness > Leader anchor according to standard
(for ANSI and ASME) |
Leader anchor |
ANSI and ASME only |
Yes/No |
In case of ANSI or ASME standard, specifies whether the
roughness leader anchor parameter should be the normalized standard,
i.e. the Leader Vertical Space parameter (with value set
to Yes) or the Leader Gap parameter (with value set to
No). |
