-
Select the dimension you created (whatever the type).
-
Select Edit > Properties.
You can also right-click on this dimension and then choose Properties from the contextual menu.
-
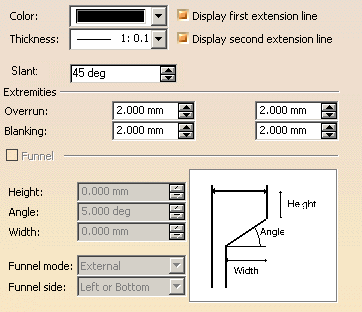
In the Properties dialog box that appears, click the Extension Line tab.
- Color: choose a color for the extension line.
- Thickness: specify the thickness for the extension line.
- Display first extension line: check to display or uncheck to hide the first extension line, when applicable.
- Display second extension line: check to display or uncheck to hide the second extension line, when applicable.
- Slant: set the slant angle for the extension line. This angle is set between 90 degrees and -90 degrees excluded, the default angle being 0 degree.

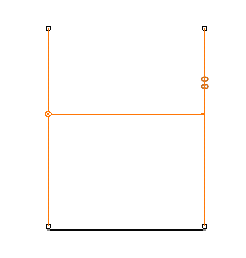
- Extremities: it allows you to increase or decrease extension line Overrun and Blanking.
 |
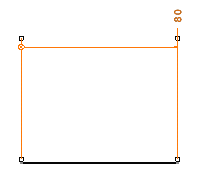 |
| You can increase the overrun size | You cannot decrease it below the minimum value |
- Funnel: to insert a funnel, you must check this option.
You can configure the funnel:
- the Height,
- the Angle,
- the Width,
- the funnel mode: external or internal
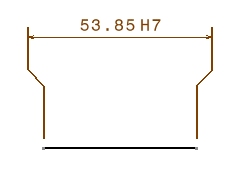
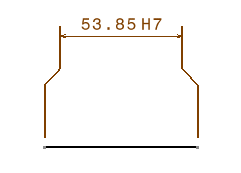
External Funnel Mode Internal Funnel Mode - the Funnel side allows you to apply a funnel only on one extension line (Left or Bottom, Right or Top) or both of them (Both Sides).
-
Modify the available options as required.
-
Click OK to validate and exit the dialog box.
![]()
