 |
This task will show you how to automatically create 2D or
3D coordinate dimensions on elements and . Coordinate dimensions allow you to
define the coordinates of a point relative to the X, Y, and possibly Z,
axes. |
 |
Open the
CoordinatePoint.CATDrawing document. |
 |
-
Click Coordinate Dimensions
 in the Dimensioning toolbar (Dimensions
sub-toolbar).
The Tools Palette appears with two options:
-
2D Coordinates
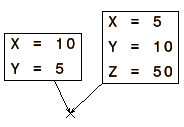
 lets you create 2D (x, y) coordinate dimensions for interactive
geometry.
-
3D Coordinates
 lets you create 3D (x, y, z) coordinate dimensions for generative
geometry or 3D background geometry in 2D layout context.
 |
- These options are also available via the contextual menu.
- In interactive drawing, this palette will not appear and a 2D
coordinate dimension will be created.
- In case of generative drafting or 2D layout:
- If you select sketched (i.e. interactive) geometry, the 2D
Coordinates option will be applied automatically (even if you
select the 3D Coordinates option).
- If you
select to apply 2D coordinate on a 3D point (generated or in the
background), the resulting coordinates of this point will be the
coordinates in the projected view and not the 3D space. This
option is not recommended in this scenario.
|
-
Select 3D Coordinates
 in the Tools Palette, as you will be dimensioning elements
generated from the 3D.
-
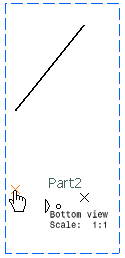
Select the element for which you want to create the 3D
coordinate dimension. The coordinate dimension is created immediately.
 |
- At this point, you can right-click to display the contextual
menu, which allows you add a breakpoint to the leader, or to choose
the leader symbol.
- You can also select a set of elements by trapping them with the
mouse, to create several coordinate dimensions in one shot.
|
-
Click in the free space to end the dimension creation.
-
Select the coordinate dimension to modify its position.
The dimension is highlighted and its anchor point appears in yellow.
-
Drag the dimension to a new position.
 |
- Coordinates are relative to the absolute axis system except for views
created by selecting a 3D local axis system.
- The yellow anchor point is associative and is linked to the element
you dimensioned.
- If you create a coordinate dimension on the origin, this dimension is
invariably non-associative. In this case, the leader symbol may be
different from the leader symbol used for associative coordinate
dimensions. Refer to
Dimension Styles > Coordinate Dimension Styles for more information.
|
-
Click anywhere in the drawing to validate.
|
|
|
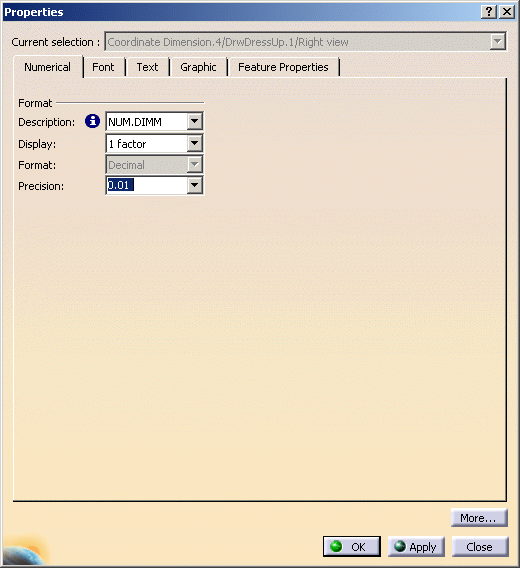
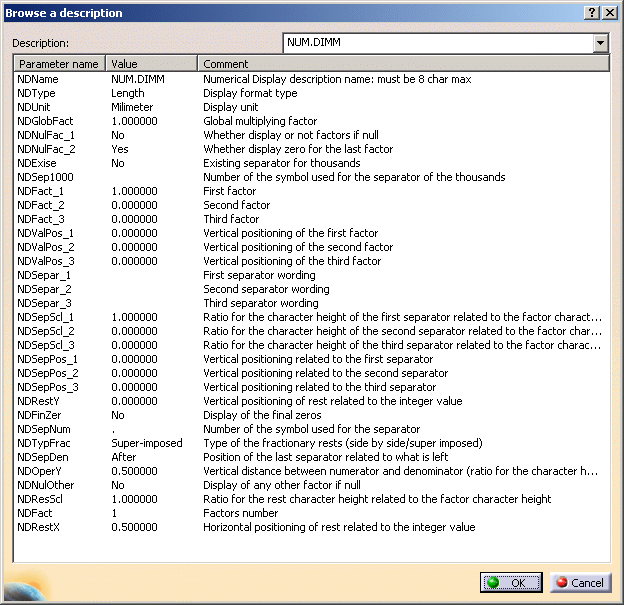
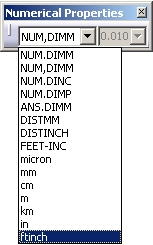
Modifying Coordinate Dimension Value Display Format
|
|
|
|
 |
|
 |
-
-
-
 |
|
| |
|
-
-
-
 |
-
-
|
-
|
 |
 |
| |
 |
-
-
-
-
-
|
|
|

|
 in the Dimensioning toolbar (Dimensions
sub-toolbar).
 lets you create 2D (x, y) coordinate dimensions for interactive
geometry.
 lets you create 3D (x, y, z) coordinate dimensions for generative
geometry or 3D background geometry in 2D layout context.
 in the Tools Palette, as you will be dimensioning elements
generated from the 3D.


![]()
