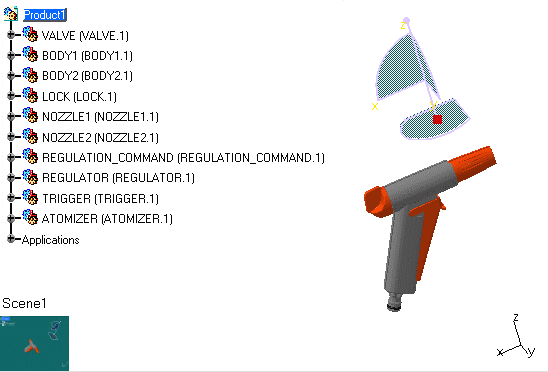
ATOMIZER
BODY1
BODY2
LOCK
NOZZLE1
NOZZLE2
REGULATOR
TRIGGER
VALVE
REGULATION_COMMAND
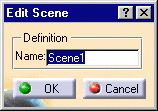
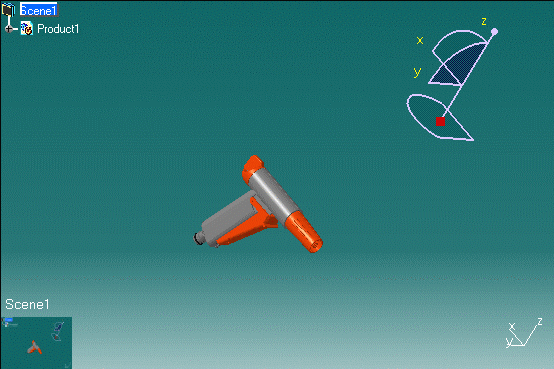
The Edit Scene dialog box and a scene representation in the document window are displayed:
You are now in a scene window:
- The background color turns to green.
- Scene 1 is identified in the specification tree.
- The default viewpoint is the initial product viewpoint.
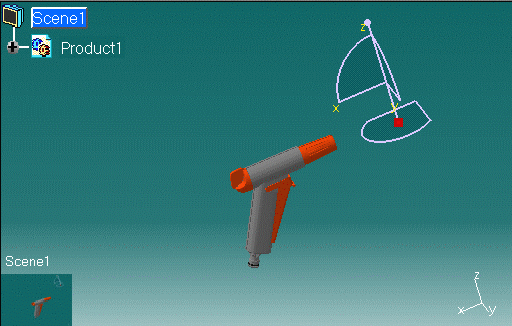
The initial product viewpoint is displayed.
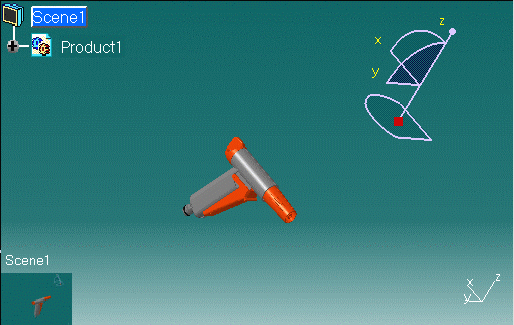
If you did not use the save viewpoint command, the default viewpoint is used.