 |
This task shows you how to cut the 3D background of layout views along each view's definition plane. |
 |
This can be useful to validate the geometry of a design view, as the view content and the 2D background will remain visible, even if their
view plane is behind the cutting plane. Since it is the view plane that is used as the cutting plane, the result will depend on the position of the layout
in 3D space.
Note that the cutting plane is applied globally to a layout, which means it is either active or inactive for all views at once. |
 |
Open the Disk4.CATPart
document. Select Start > Mechanical Design > 2D Layout for 3D Design
to open the layout in the 2D window.
If necessary, activate the Display Backgrounds as Specified for Each View
 in the Visualization toolbar to display the layout view background.
 |
 |
-
The Cutting Plane
 is
activated
in the Visualization toolbar.
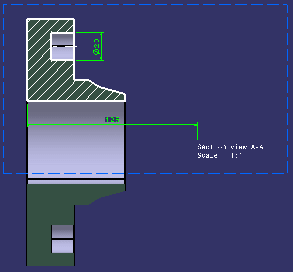
Notice how the 3D background of the Section view is cut along its definition plane.
- Now, de-activate the
Cutting Plane
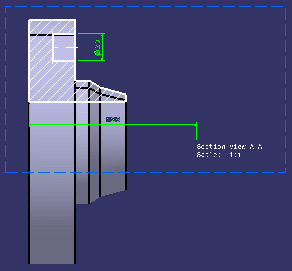
 icon and notice how the 3D background of the Section view is no longer cut along its definition plane.
|
 |
-
-
-
-
-
-
- The cutting plane is taken into account when
printing in raster mode and when
creating a drawing view. For more information, refer to the 2D Layout for 3D Design user's guide.
- For more information on the other visualization-related options available in the Visualization toolbar, refer to
the Layout Tools task in the 2D Layout for 3D Design user's guide.
|
|

|
 is
activated
in the Visualization toolbar.

 icon and notice how the 3D background of the Section view is no longer cut along its definition plane.
![]()