-
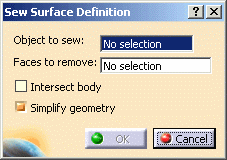
Click Sew Surface
 .
.The Sew Surface Definition dialog box is displayed.

-
Apply the Hide/Show contextual command onto Yellow Surface if it is not visible.
-
Select Blend.1 as the the surface you wish to sew onto the body.
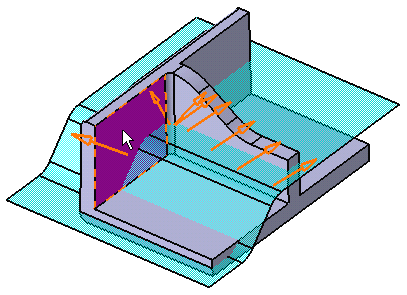
Arrows appear in the geometry, indicating the side where material will be added or kept. Clicking an arrow reverses the given direction.
-
Use the Hide/Show contextual command to hide Blend.1. This operation lets you see the faces to be removed.
-
Click the Faces to remove field, then select the vertical face as shown:
The selected face turns purple.

-
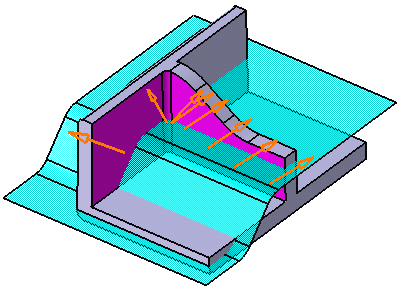
In the Faces to remove field, right-click and select Tangency propagation. All faces tangent to the selected face are now part of the selection, as indicated in the field and on the part. All of them will be removed.

-
Click OK to confirm.
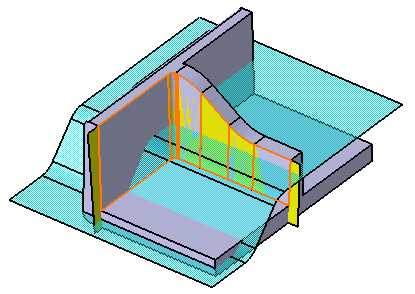
Blend.1 is sewn onto the faces. The Sew Surface feature is created.
-
Use the Hide/Show contextual command to show Blend.1 again.
You can see Blend.1 and the sewn surface.

The application displays Sew Surface.1 in the specification tree.