-
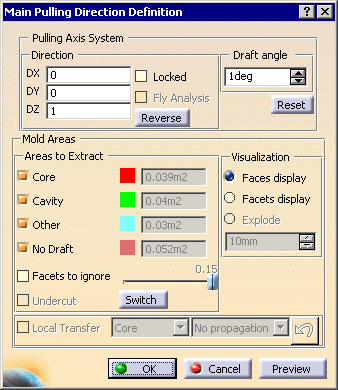
Click Pulling Direction
 .
.
-
Once the dialog box is open, click the part in the viewer.
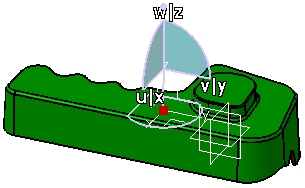
The surface that you see is green because it corresponds to the cavity surface.
Turn the part over and you will see the core surface in red:
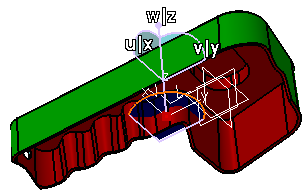
However, as you turn the part round you will notice that there is an area that is neither red (core) nor green (cavity).
This area will require another pulling direction for the slider area that will be needed to ensure
that the part can be correctly unmolded.
-
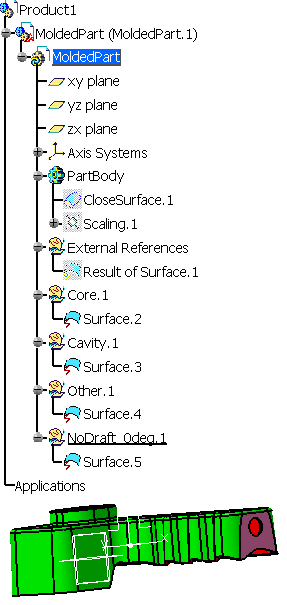
Click OK. The following elements are created in the specification tree:
- Core.1, i.e. the core area, displayed in red,
- Cavity.1, i.e. the cavity area, displayed in green,
- NoDraft_1deg.1, i.e. an area considered as vertical, giving a draft angle of 1 degree, displayed in pink,
- Other.1, i.e. an area that belongs neither to the core area nor the cavity area,
displayed in blue (walls of the hole in the pink area).
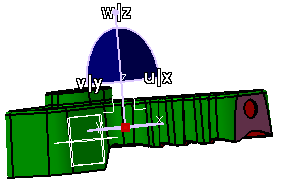
You are now going to define the slider area pulling direction
![]()