-
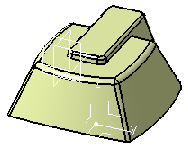
Open FilterCover.CATPart in the samples/import directory.
-
Click Bounding Box
 in the Import Model toolbar.
 -
Select the part. A dialog box is displayed that contains the minimum and
maximum values that are required in X, Y and Z to create a box that would surround the part.
The default box is displayed in bold dark lines.

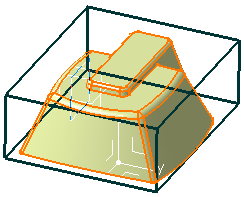
You can modify the X,Y,Z values if you choose.
-
You can also change the axis system used to define the rough stock by clicking on Select an axis
and then choosing either:- an axis in one of the other axis systems,
- a plane,
- or a planar surface.
-
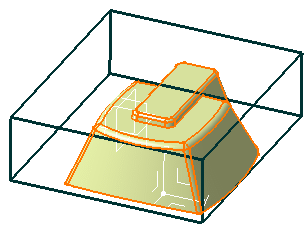
Click OK to create the bounding box.
![]()