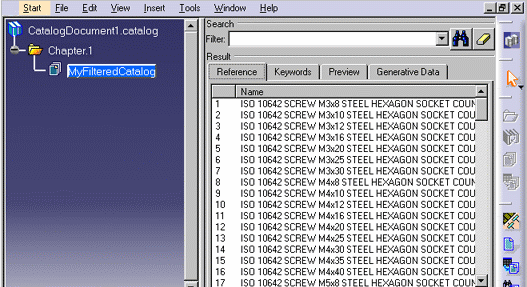
This task explains how to apply a filter to an existing catalog, thereby creating a set of filtered components that represent a subset of the referenced catalog. Each component in the Filtered Components subset points to a resolved part in the reference catalog to which you applied the defined filter. You will also see how to store the filter.
During the filter application, a local subset of the reference catalog is created. Each description points to the corresponding resolved part in the referenced catalog. (This link can be displayed with the Edit -> Links... command.) Whenever a reference part is modified, you use the Synchronize option from the Links dialog box to update the subset (filtered components).
-
Create the part family that will contain the filtered components by clicking the Add Part Family icon.
Then, choose a name as well as the document that will be referenced by the part family. -
Activate the part family by double-clicking its name or icon. The entities contained in the selected family appear in the form of a table on the right-hand side of the navigator and the Data toolbar icon are activated:

-
Click the Define Filter on Another Catalog icon
 .
.
The Filter Definition dialog box appears.
-
Indicate the catalog to be filtered either by entering the corresponding path in the Filtered catalog field or by clicking the Browse... button. This button opens the File Selection dialog box which lets you browse your folders to the desired location.
-
Click the Filter icon
 .
.
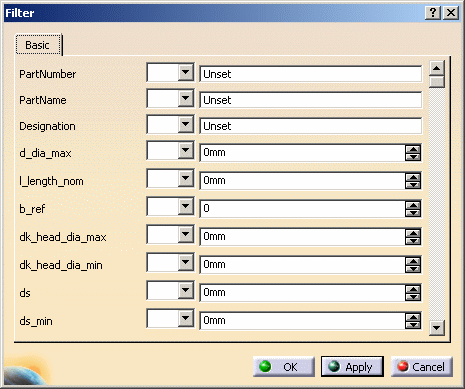
The Filter dialog box appears.
-
Define the filter criteria.
-
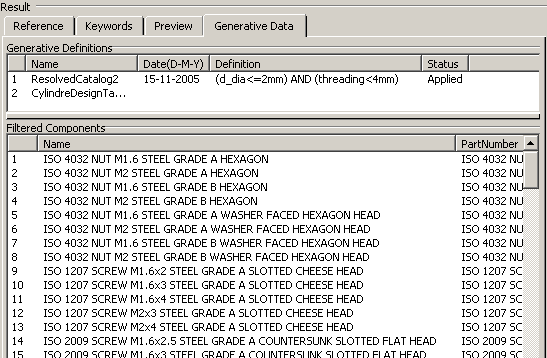
Click Apply then OK to validate. The filter is displayed under the Generative Data tab and can now be applied.
-
In the Generative Data tab, double-click the filter to be applied to re-open the Resolved Filter definition dialog box.
-
Click the Apply Filter button that is now displayed.
When the filter is applied, the Filter Definition dialog box re-opens and the corresponding components are displayed under the Filtered Components section.
The file name of the resolved part (if there is one in the design table) is indicated in the PartName or PartNumber column.
-
Click Cancel to close the Filter Definition dialog box.
Note: No design table is contained in the resolved part since it is always removed during resolution.
To remove a filter, in the Generative Data tab, right-click
the filter and select Remove Filter.
![]()