-
Sketch the contour of the pocket.
To do so:
-
Click Pocket
 .
.
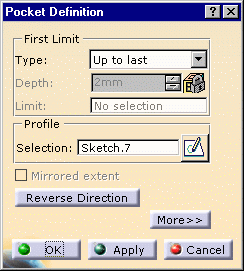
The Pocket Definition dialog box is displayed and CATIA previews a pocket with default parameters. -
Set the Up to last option to define the pocket limit.
This means that the application will extend the pocket to the last possible face, that is the pad bottom. 
-
Click OK.
-
Select the board to define the working plane.
The Hole Definition dialog box appears.
CATIA previews the hole to be created with default parameters. -
Enter 4mm for the diameter and click OK.
The hole is created. -
Repeat the steps 5, 6 and 7 to drill the second hole.
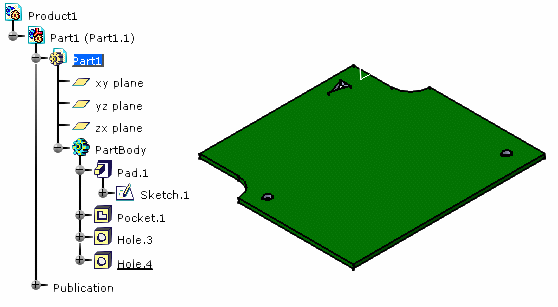
The pocket and holes are added to the specification tree.
