- pan along the direction of any axis (X, Y or Z) of the compass
- rotate in a plane
- pan in a plane
- rotate freely about a point on the compass
- view the document perpendicular to any of the axes of the compass.
-
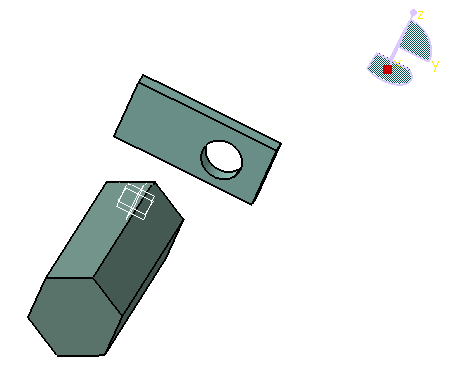
Rotate to see how the objects, 3D compass and the absolute axis are rotated together.
-
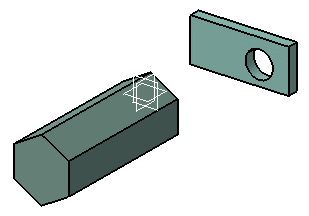
Point to the compass.
-
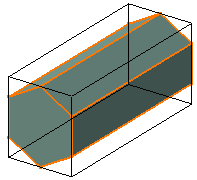
Drag any axis on the compass.
The viewpoint is panned along the direction of the axis. For example, dragging the Z axis upwards pans up along the Z axis like this: 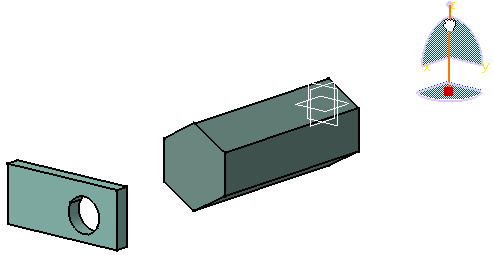
-
Drag an arc on the compass.
For example, dragging the arc YZ to the right rotates the objects in the plane subtended by the arc YZ like this: 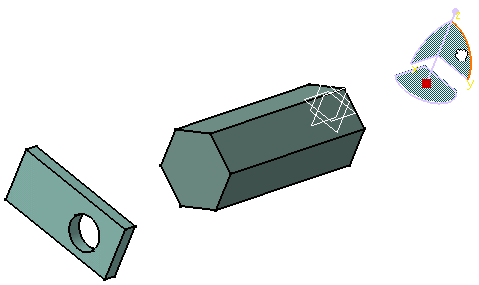
Dragging close to the red square rotates the objects quickly; dragging further away from the red square rotates more slowly. The rotation axis used is the same as that used when rotating using the other rotation tools. -
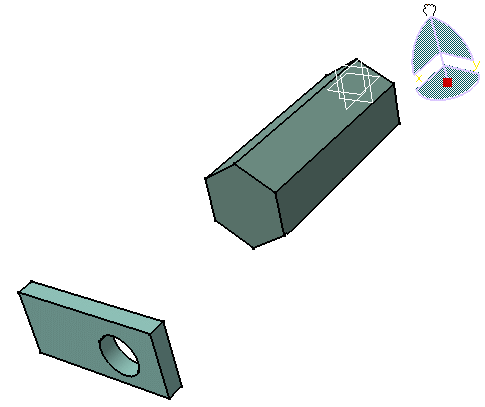
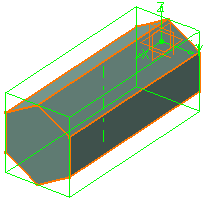
Drag a plane on the compass.
For example, dragging to the right the plane subtended by the arc ZY moves the objects on the same plane like this: 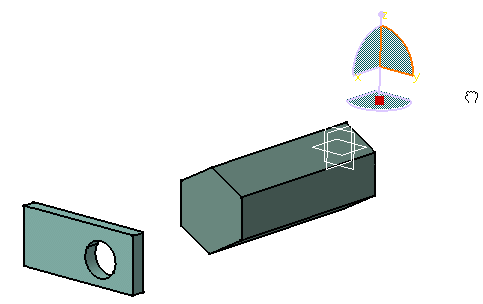
")
Select View > Render Style > Perspective to perceive the effect more easily. -
Drag the free rotation handle (the point at the top of the compass) to rotate the objects freely like this:
-
Point to either X, Y or Z to highlight the letter, then click the letter to make that axis perpendicular to your eye-point.
Clicking the same letter reverses the point from which you view the objects. For example, clicking the letter Z lets you view the document along the Z axis like this: 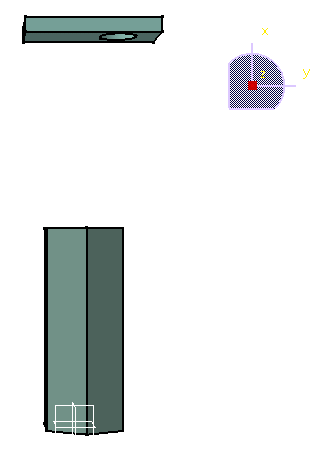
![]()