In other to improve page rendering performances, and to use the port of the HTTP server associated with the WebSphere Application Server, instead of a cumbersome 9080 port (for example), a last step must be performed so that the web server will serve efficiently static resources (icons, images) and act as a proxy for the dynamic content generated by the application server.
Input placeholder used in this Doc task
Signification
Source
<ibmhttpserver_path> the path where the IBM Http Server was installed WebSphere administrator <ibmhttpserver_name> the name of the IBM Http Server WebSphere administrator <http_port> the communication port for the IBM Http Server WebSphere administrator <rootURI> name that appears in the URL your users will use to connect to the web application WebSphere administrator, same as in Creating the Enterprise Archive File
- Launch the Integrated Solutions Console and select Servers->Web Servers.
- Check the selection button next to webserver1 and click the Generate Plug-in button to generate the plug-in file:
- If the IBM HTTP Server is run on a different machine than the WebSphere Application Server, copy the web server plug-in to the machine hosting the HTTP Server, as documented in the WebSphere Application Server documentation, by selecting Propagate Plug-In.
- Start the IBM HTTP
Server.
For example, on UNIX, go to:<ibmhttpserver_path>/bin/For example, the typical installation path is:
/home/data/Websphere6/IBMIHS/binand type:
./apachectl startOn Windows, go to the directory where apache was installed, then type:
apache.exe -h
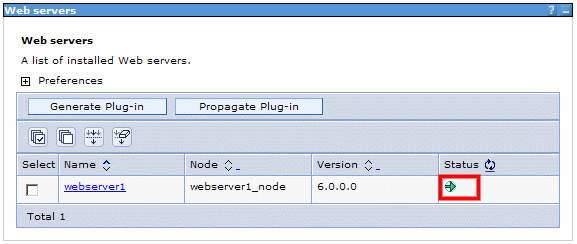
to obtain help on the options required.In the WebSphere Administrative Console, click the Status button to refresh the view: there is now a green arrow, indicating that the web server is running:


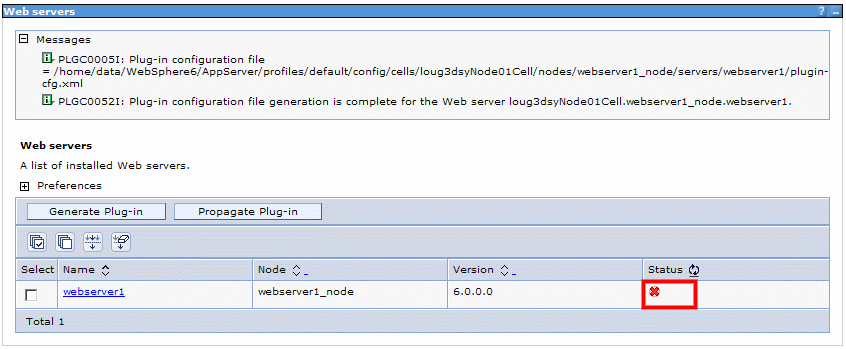
Note that the status of the server is stopped
(red cross).
Testing
In order to test that the Web Server has been regenerated correctly, stop and then restart the LDAP server, then open the following URL in a web browser:
http:<ibmhttpserver_name>.<domain>:<http_port>/<rootURI>/html/ENOVIAPortal
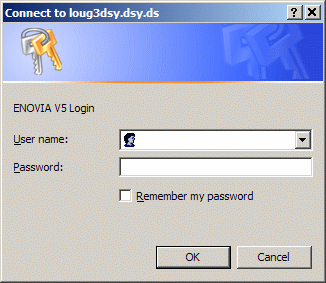
to display the ENOVIA V5 logon dialog box:

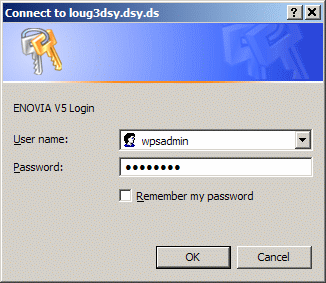
then log on as:
wpsadmin

     wpsadmin

to display the Webtop portal.
![]()