By default, the UNIX user can be used but it is possible to use another name with its password.
2. Click the Next button to move to the next step.
The ENOVIA V5 VPM Dictionary Owner dialog box appears:

This dialog box lets you specify the user name and password that will be associated to the ENOVIA V5 VPM Dictionary Owner.
The ENOVIA V5 VPM Dictionary Owner:
- creates the data structures in the database
- is known in the database, but is not known in ENOVIA V5 VPM.
3. Enter the user name of the ENOVIA V5 VPM Dictionary Owner.
4. Enter the password for the ENOVIA V5 VPM Dictionary Owner.
5. Click the Next button to move to the next step.
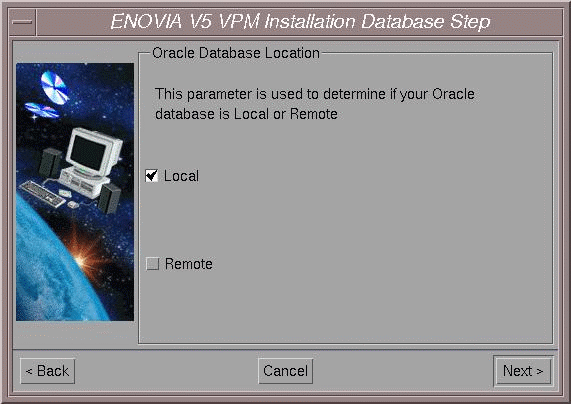
The Oracle Database Location dialog box appears:

6. Indicate whether the location of your Oracle Database that will be used for ENOVIA V5 VPM is:
- Local: on the machine on which you are currently running the installation
- Remote: on a remote machine.
Note: This parameter only concerns the installation and has no impact on Runtime functioning.
In both local and remote nodes, you can choose either an existing tablespace or select New One... and create a new tablespace.
7. Click the Next button to move to the next step.
The Oracle Home Directory dialog box appears.
8. Indicate the home directory of the Oracle Product:

Note: The directory that you specify can be for a remote database instance or a local database instance.
9. Click the Next button to move to the next step.
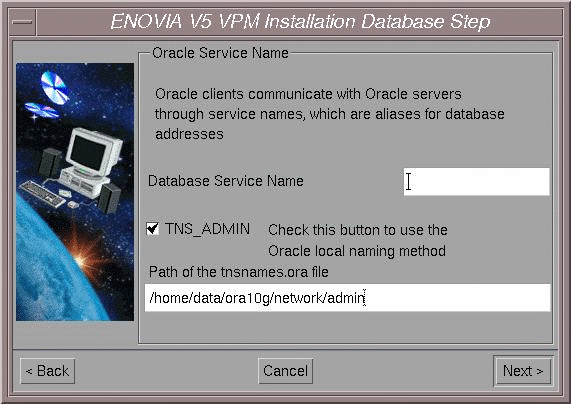
The Oracle Service Name dialog box appears:

Oracle clients communicate with Oracle servers through service names, which are easy-to-remember aliases for database addresses. Service names can be resolved using various methods:
- Local Naming method: resolves service names using a local configuration file (TNSNAMES.ORA, SQLNET.ORA, LISTENER.ORA).
- Centralized Naming method: resolves service names using Oracle Names (highly recommended to centrally administer large Oracle networks).
Using the Local Naming method
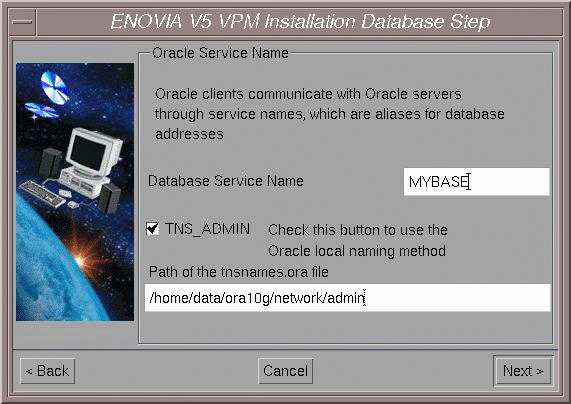
To use the Local Naming method:
- check the TNS_ADMIN option (this is the default): the path of the default tnsnames.ora file containing the list of database service names is highlighted, but you can click the browse button and choose the file at a different location
- select the database service name from the pulldown list: In our example, this is MYBASE.

Using the Centralized Naming method
To use the Centralized Naming method:
- uncheck the TNS_ADMIN option: the Database Service Name field appears.
- enter the database service name in this field.
10. Click the Next button to move to the next step.
You now continue to another part of the installation common to all databases.
![]()