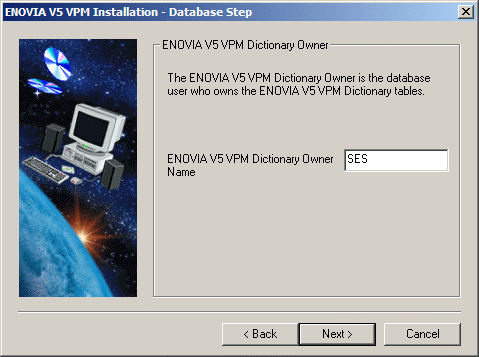
This dialog box lets you specify the user name and password that will be associated to the ENOVIA Dictionary Owner.
The ENOVIA V5 VPM Dictionary Owner:
- creates the data structures in the database
- is known in the database, but is not known in ENOVIA V5 VPM.
- Enter the user name of the
ENOVIA V5 VPM Dictionary Owner.

- Click the Next button to move to the next step.
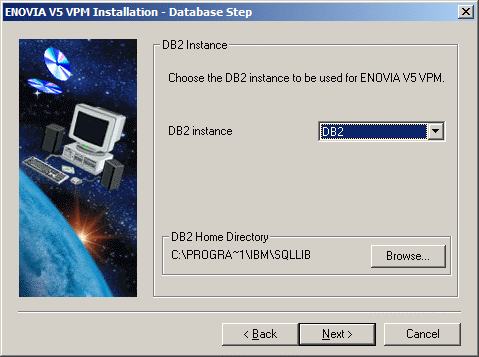
The DB2 Instance dialog box appears:

Selecting the Default Instance
The instance DB2, for example, was created when DB2 was installed on your local computer. This instance is already selected. You can use this as is.
The DB2 home directory displayed is the home directory of the DB2 installation on your local computer.
Selecting Another Instance
You can also choose another instance. The instance can be on your local computer or an a remote computer. To do so:
- In the "DB2 instance" field, use the pulldown list and select
Other...
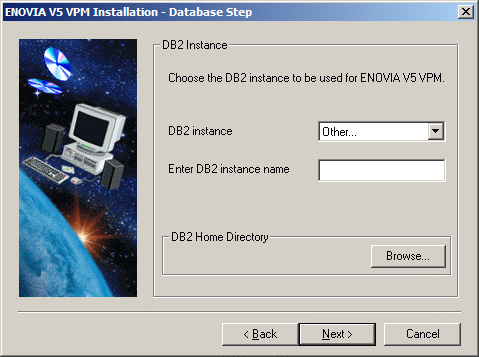
The "Enter DB2 instance name" field is displayed. - Enter the name of the DB2 instance you want to use.
The DB2 home directory path is no longer displayed. - In the DB2 home directory area, click the Browse... button and select the DB2 instance home directory. The DB2 home directory can be on your local computer or on a remote computer. If the instance is on a remote computer, map a network drive to the installation folder on the remote computer. The DB2 installation folder must be shared beforehand.
The resulting dialog box looks like this, for example:

- In the "DB2 instance" field, use the pulldown list and select
Other...
- Click the Next button to move to the next step.
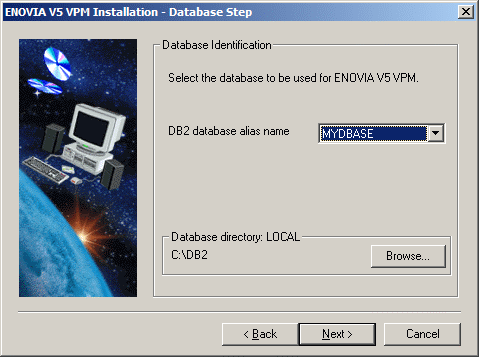
The DB2 Database Identification dialog box appears. The "DB2 database alias name" field contains a list of all catalogued databases.
These databases can be located:
- on the same machine (LOCAL)
- or a remote machine (REMOTE), and if this is the case, the database
could be on another Windows computer or a UNIX workstation.
- Click on the selection button to choose the database alias name for
the chosen DB2 instance.
If you selected a remote instance, only remote databases will be available for selection. Note that the grayed out text "Database directory: REMOTE" indicates that the database is located on a remote computer.
In the following example, the database we created is a local database, MYDBASE:

- Specify the Database directory, if necessary.
By default, the path:
C:\\DB2specifies the default DB2 home directory.
- Click the Next button to move to the next step.
You now continue to another part of the installation common to all databases.
![]()