-
Select the Tools>Options... command.
-
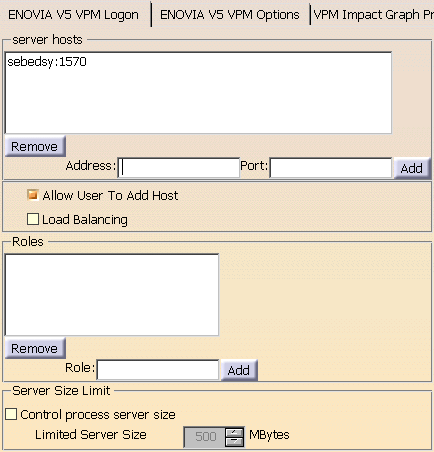
Click the ENOVIA V5 VPM category and select the ENOVIA V5 VPM Logon tab:

-
In the Server hosts section of the dialog box, add the address and port to the server host list by entering them in the appropriate fields:

-
Click the Add button to add them to the list:

-
Click the Allow User to Add Host box if you prefer to make a manual entry in the combo listing the host servers in the Log on to ENOVIA V5 dialog box.
If your entry is valid it will be added to the server host list and will be available for future use. -
Click the Load Balancing box if you want to use load balancing. For more information about this, see "Managing User Authentication" in the section "Logging On/Off" in the VPM Navigator User Guide.
-
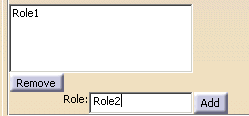
In the Roles section of the dialog box, add your own role list using the Add and Remove boxes:

This should only be done if you want to restrict the number of server-defined roles i.e. the roles made available in the ENOVIA Logon dialog box when the Check to choose a role box is clicked (see "Logging On/Off" in the VPM Navigator User Guide). Any role you define must be one of the server-defined roles. Otherwise, it will not be proposed in the ENOVIA Logon dialog box.
If you prefer to make available all the roles defined by the server, leave this list empty. By default, all the server-defined roles will then be proposed when you log on.
If you enter a list of roles, bear in mind that if none of the roles in your list are defined by the server selected in the ENOVIA Logon dialog box, the list of available roles will be empty.
-
-
Click OK.
![]()