Exploding the Assembly

This last task illustrates the use of the Explode capability. Exploding the view of an assembly means separating the components of this assembly to see their relationships.
1.  Make sure Product 1 is selected.
2.  Click the Explode icon  in the Move toolbar.

The Explode dialog box is displayed.
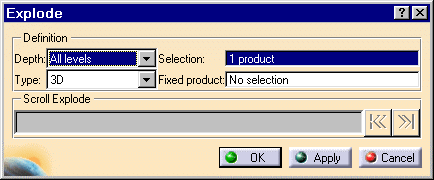
Product 1 is the assembly to be exploded. The Depth parameter lets you choose between a total (All levels) or partial (First level) exploded view.

3.  Set All levels if not already set.
4.  Set 3D to define the explode type.
5.  Click Apply to perform the operation.

The Scroll Explode field gradually displays the progress of the operation. The application assigns directions and distance.

Once complete, the assembly looks like this:
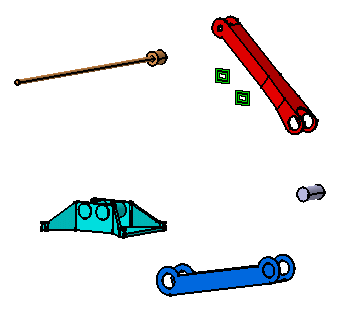
The usefulness of this operation lies in the ability of viewing all components separately.

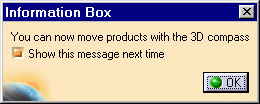
Note that you can move products within the exploded view using the 3D compass.
6.  Click OK to validate the operation and then click Yes at the prompt or click Cancel to restore the original view.
Well, you have done all the tasks of the Getting Started section. Why not consult the rest of the documentation?