-
Click the Coincidence icon:

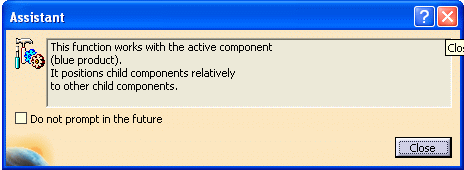
The following message window appears, providing information on the coincidence constraint command. If you do not want to see this dialog box appear any more, check Do not prompt in the future.
-
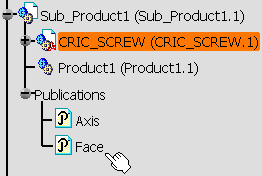
Select Axis publication in the specification tree.
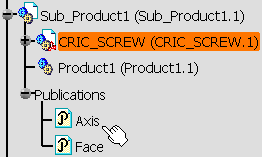
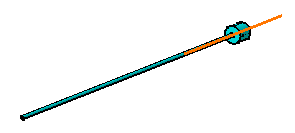
The application detects it once selected. The axis is now highlighted in the geometry.
-
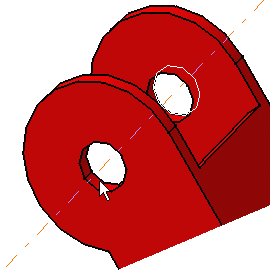
Select one of the two inner faces of CRIC_BRANCH_1 to select the associated axis.
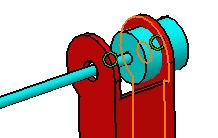
As the coincidence constraint is created, CRIC_SCREW and CRIC_BRANCH_1 are aligned:
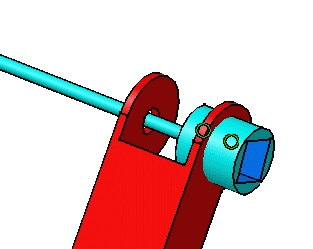
Now, you are going to set a contact constraint between CRIC_SCREW and a circular face of CRIC_BRANCH_1.
-
Click the Contact Constraint icon:

-
Select Face publication in the specification tree.
-
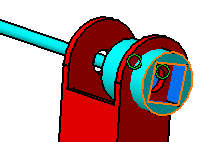
Select the red circular face in the direction opposite to the published face.
As the contact constraint is created, the turquoise cylinder is located exactly on the red face.

The created constraints are automatically updated because the automatic update mode is activated. As the color defining valid constraints is green, our constraints are green. The application allows you to customize constraint colors as explained in Customizing Constraint Appearance.
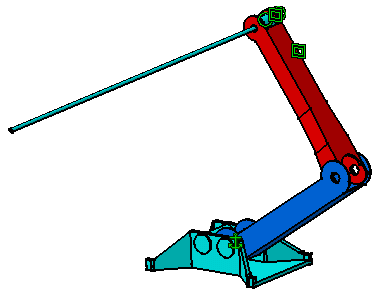
The assembly now looks like this: