Create an Isoparametric Machining Operation

task target This task illustrates how to create an Isoparametric Machining operation in the program.
scenario 1. Select the Isoparametric Machining icon .

An Isoparametric Machining entity is added to the program. It is initialized with the tool used in the previous operation.

The Isoparametric Machining dialog box appears directly at the Geometry tab page
This tab page includes a sensitive icon to help you specify the geometry to be machined.
The part surface and corner points of the icon are colored red indicating that this geometry is required. All other geometry is optional. 
2. Click the red part surface in the icon then select the desired surfaces in the 3D window.
3. Click a red point in the icon then select the four corner points of the part surface.
The part surface and corner points of the icon are now colored green indicating that this geometry is now defined.

4. Select the Strategy tab page to specify:
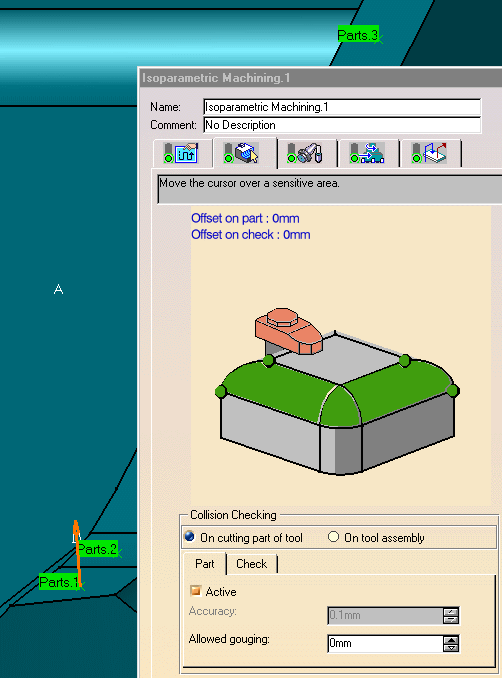
  • Machining parameters:
  • Radial parameters: Set Number of paths to 3.
  • Tool Axis parameter: Set Guidance to Fixed axis.
  • Compensation: Set Compensation output to No.
5. Click Replay to compute the operation and visualize the tool path. 

6. Click OK to create the operation.

end of task